Saturday, April 26, 2014

Studies in collage with walnut inks and cereal box journal update

I've had these walnut inks sitting around for a long time. I had to have them but I've never been sure what to do with them. (I know I am not the only person out there who is compelled to buy art supplies before having a use for them!) They can't be used on non-porous surfaces (or they will never dry), so I had limited use for them. After being inspired by Jane Davies to stamp, paint, and mark on tissue paper for use in collage it finally occurred to me to spray the inks on the tissue. I love the result. It's easy to do. Spray ink on tissue paper. Tear up paper. Stick it down.

Tsukineko Walnut Ink Sprays
The colors in this set are Terra Cotta, Eucalyptus, Java, and Walnut. I think they are meant to be used for aging or antiquing papers. Tsukineko calls them "craft inks" on their website.

Torn tissue paper
I started with opaque papers, mostly ones with words, adhered to some drawing paper about 9"x12". Of course I forgot to photograph that part.

I ripped up the tissue paper and started sticking it down, paying very little attention to what went where. I added the translucent tissue paper over the opaque papers and I like the look very much. It knocks back the white and leaves the text visible. 

The tissue paper on the left, in the image above, was stamped using a wooden stamp with Golden Iridescent Copper Light (Fine). I am adding it into the collage because it it's curvy, and because I love the copper color. You can see a bit of it in Collage detail (1) below. Not Collage (1), Collage detail (1).

Collage (1)
The tissue paper I used had a strong grain in one direction and I ended up with lots of pieces with straight-ish edges. I positioned the most extreme ones against the edges of the paper.

Collage detail (1)
I love the transparency, well, technically I guess it's translucency, of the tissue paper. Because the inks do not spray uniformly, I was able to choose from very dark to very light coverage.
Collage detail (2)
There is no rhyme, reason, or composition here. Just randomly placed paper. It's not necessary because I will paint over much of this. It takes great courage, but I am learning to paint over collage, using the collage to inform my painting decisions. (Don't you love that? Informed. Me?) The class that I took from Jane last month at Art & Soul in Kansas City was filled with instruction that has made me much more confident about painting over my exceptionally wonderful precious collages.

Cereal Box Journal 

The cereal box journal slowly marches on. When I add to the pages, I use paint left over after a "real" painting session and collaged junk. I experiment with things I might want to do in a project: techniques, stamps, all kinds of stuff.

Cereal box journal detail (1)
This is a label torn off a beer carton. There was lots of nice narrowly corrugated cardboard left for use as a texturing tool. My son was nice enough to give the carton to me as I do not buy beer by the case.

Cereal box journal detail (2)
I sprayed over a hare mask with Dylusions ink spray. I am still a little leery about using Dylusions because they are water-activated and they smear in the kind of work I do. Love the colors, though. I think my choices are to seal it with a fixative spray or switch to acrylic inks and settle for a different look.

Cereal box journal spread
I have been sick for a week, but I think I am on the mend now. It will be great to get back in the studio instead of sitting in a chair and watching netflix while reading the interwebs. I can only take so much of that stuff and I reached my limit last Monday.


Tuesday, April 1, 2014

Cereal Box Journal

I have learned so much from other people, too many to remember to list them here. I do want to mention Jane LaFazio, who introduced me to cereal box journals, and Jane Davies, who taught me about lifting paint. I have learned a great deal more than that from Jane and Jane. They are both brilliant artists and excellent teachers, and their classes are fun and filled with new ideas. Check out their workshops and online classes on their websites!

Okay, my cereal box journal. I save cereal and cracker boxes and cut off the sides and ends to make pages. I punch holes in them so that I can hold them together with rings.

Art journal made from cereal boxes.

Art journal made from cereal boxes.
As you can see, we eat lots of cereal
and crackers around my house.
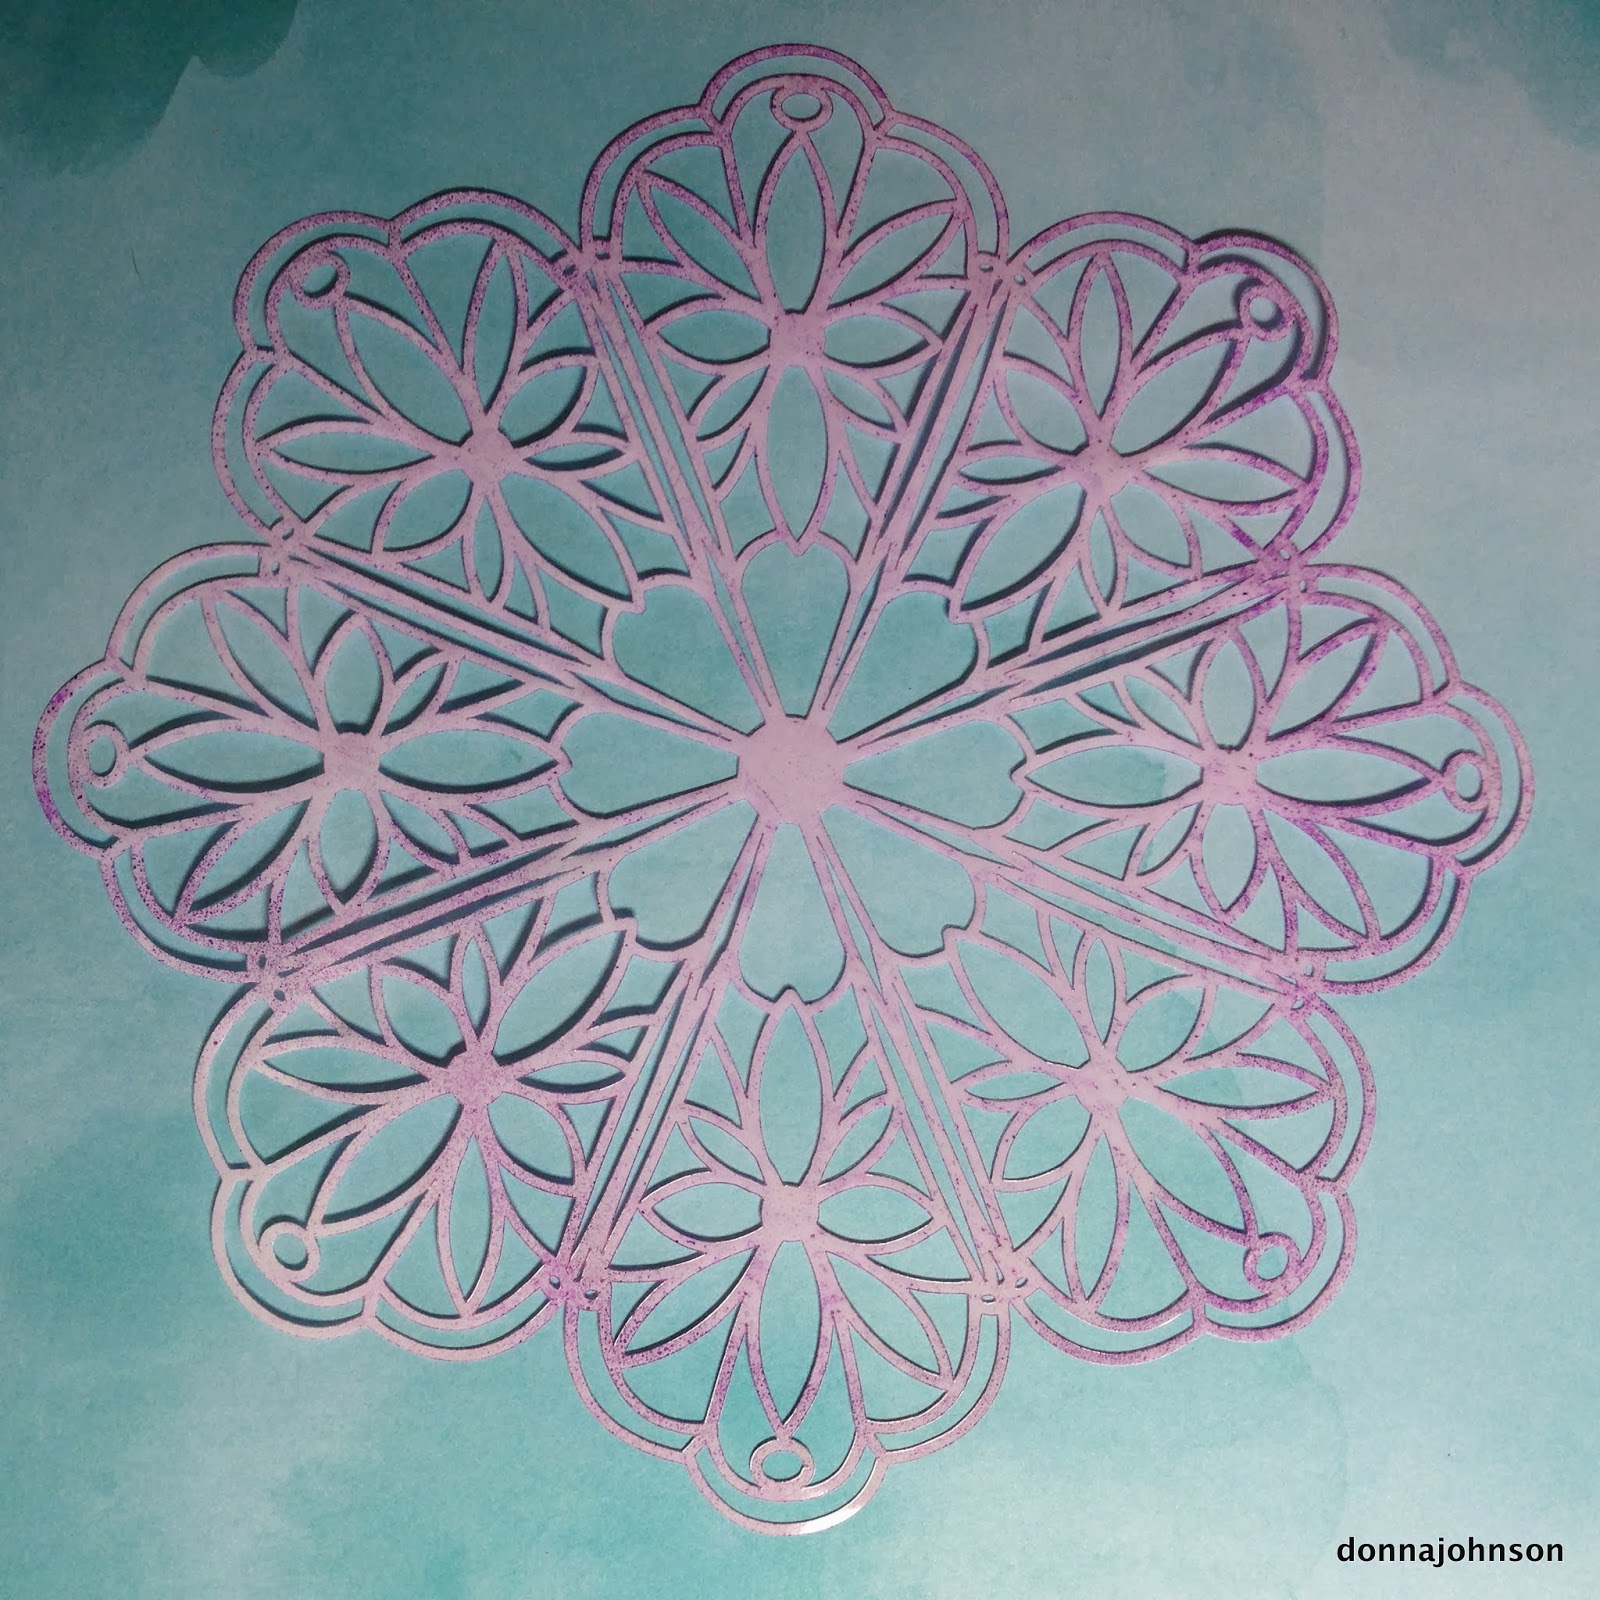
I am working on collage and paint pieces (not in the journal, on printmaking paper), and sometimes I want to remove paint that I have applied. I grab a cereal box page or a piece of drawing paper and blot to lift the paint. I love the interesting effect of this. The cereal box by-product is just a bonus! When I have blotted enough that the CB page is covered, I make marks on it and sometimes I add more paint.

Art journal pages

These finished pages are fun to play with. I have no stake in how they look. They do not have to be perfect! If I end up with something I hate (it happened once) I can either paint or gesso over it or throw it in the trash.

Sometimes I use cheap drawing paper to lift paint. I learned about this paper from Jane Davies. It is on her Favorite Materials web page.


I love to write on these pages. I overlap the writing so no one can read it (really, I say things I would never want anyone to read!), and I love the blocky squiggly effect.

Rather than punch holes in this paper, which I think would soon be destroyed by flipping through the heavy cardboard, I stick it on the CB pages with acrylic medium. I am sure PVA glue would be just fine, I just haven't had a bottle near me when I have been doing this. In this photo I have folded the drawing paper in half and wrapped it around the cardboard page.


I'll add some paint and some writing certainly, and maybe more. Whatever I do, I will enjoy doing it, and maybe learn some things that will help me be a better artist.

Thursday, February 6, 2014

Winter grays and browns

It's no secret that I have a rough time emotionally in the winter. My personality is not suited to viewing grays and browns relentlessly. I think that's why my art leans toward screaming bright colors. I feel like a parched plant drinking in water when I work in big bright colors. Sometimes it's hard to get myself to my studio to work when it's cold and brown and gray outside. On those days, I take it easy on myself. Sometimes just sitting in my studio helps. Sometimes just sitting leads to working, which helps a bunch. I haven't felt like taking on anything difficult or big, so I have been working in my art journals and making Gelli prints.

Gelli prints on card stock and deli paper

As I printed on the Gelli plate, I used the journal page below to clean my brayer and print off stamps and rubbing plates that still had paint on them. I am very pleased with how it turned out, especially considering that it was a no-brainer. Come to think of it, most of my backgrounds are no-brainers.

Journal page from cleaning brayer
and stamps
Wishing you all the color you want in your life.


Saturday, January 25, 2014

Cereal box journal

I have been saving cereal and cracker boxes to make a journal. I love the idea of the rough look of it, and I can smugly pat myself on the back for repurposing something that would otherwise be wasted.

These pages are calling to me that I can do any old messy thing I like and not give a hoot about what it looks like. In other words, it is truly an expressive art journal. I need something like this to work on a few minutes a day, maybe right after I write my Morning Pages.


Repurposing cereal boxes -- I am so green. 
I intend for the "binding" to be a couple of metal rings, as you can see in the image. I started making holes in the cardboard pieces as I cut up the boxes, but soon grew weary of that because it was boring and made my hand hurt. I will add holes as I finish each page.

This is as far as I have made it with this thing. The next step is to apply gesso, and I have no doubt that the non-printed pages will be fine, but I am concerned about getting gesso to stick to the shiny, printed side. I will probably be spending some time with a sanding block. I don't like sanding, but it is for art so I will sacrifice myself. Or I will just make art on one side. It's my journal and I can do whatever I like. So there.

I'll post my progress with this project. Maybe. It might contain many expletives.

Have you ever made a cardboard art journal? I'd love to read about your experiences!

Friday, January 24, 2014

Moongazing Hares

I don't know what it is about hares and the moon that lures me in. Something just does. On a trip to London a lifetime ago, I found a little moongazing hare sculptural figure in a gift shop, I think it was the V&A. I have had it around at the edges of my awareness, tucked in a drawer or at the back of a shelf, for many years. 


The other day, while trying to read the entire internet in one sitting, I ran across an image of one of these creatures and have felt myself drawn back in. The hare represents regrowth and the fertility of spring, which seemed apt for the time of year and my age. At 67, I consider myself in the springtime of my old age, and am finding a growing energy in artistic creativity. If you want more information on these critters, here's what wikipedia has to say.

I googled for images and was not disappointed. Eventually, I chose my favorite and with PhotoShop and Illustrator managed to make a file that I could use with my Silhouette Cameo to cut a stencil.

This is not the stencil, it's the mask that came from the stencil.
This is the mask (the part that came away to make the stencil), and I think I am going to have lots of fun with this and my Gelli plate. (Note the textured papers beneath the mask. I am using them to remove paint from the Gelli and eventually they will wind up in a piece of art somewhere. Someone gave them to me but I believe they are anaglypta wallpaper and I might be able to get more from the paint store!)

This was made using the stencil.
Here's what my hare looks like stenciled on to an art journal page. I outlined it with a .35mm Energel pen, and I like that look, but the hare does not seem finished to me. I think I will gradually add paint to it until it is less translucent and stands out on its own more.

A few more pictures of the hare …

Gelli print on card stock using stencil and hand carved stamp.
It amuses me to make these hares in non-hare colors. I didn't realize that the spiral on the hare was layered over a spiral design on the background image until I made the print. Happy accident.

Gelli print on deli paper cut out and placed on existing collage.
This pink hare was stenciled on a piece of deli paper using the Gelli, then cut out and placed over an existing collage art journal page.


Monday, January 20, 2014

Stamp carving

I carved a few stamps this weekend. Carving is so relaxing to me!

Large pattern stamp
Somehow I thought I could turn this stamp so that all the patterns would match. Either it can't be done or I can't figure it out. I am spatially impaired so it's not surprising! This was easy to carve. I freehand drew the pattern on a piece of pink carving material that I had around. It carved beautifully, so I need to head out with my Michaels coupon and see if I can find it there.
Smaller stamps
These smaller stamps were a pain in the neck to carve. Not because they were small but because the material crumbled as I worked, leaving irregular edges. It is a creamy color, but I don't know what kind it is. I especially like the spiral and the second one in the right column.

 Julie Fei Fan Balzer has a new book out, Carve Stamp Play: Designing and Creating Custom Stamps, and I have added it to my book wish list. (I linked my wish list on amazon, just in case anyone is searching for the right gift for me. Just saying')

My next projects are another luna moth stamp, about half the size of the first one, and a moon gazing hares. There seems to be a moon theme emerging here. Hmmmm.

I love comments! Feel free ...

Sunday, January 19, 2014

Fried Egg Art

This was my breakfast a few days ago. A fried egg. I liked its looks so I photographed it. And put some makeup on it, via Procreate, an iPhone and iPad app*.

Before

After

*Procreate is the best photo editing app I have run across, except for one tiny flaw: it crashes constantly. I can't recommend it because of that, but I like to play with it occasionally when I have some time.

Painting the Gelli plate cover

See that Gelli plate below? It is not loaded with paint. The plastic cover sheet is loaded with paint.

8x10" Gelli plate with painted cover sheet

Please tell me that I am not the only Gelli plate owner who, in her zeal to get started, put paint on the sheet covering the plate. I've done it to both sides. A multiple offender.

BTW, it's not very clear in this photo, but this is where my Gelli plate lives: on a glass sheet recycled from my (old) refrigerator. The glass is tempered, which makes it safe, not that it ever moves. The Gelli sticks right down and does not slide around when I am printing. It stays on my worktable most of the time, but if I want to move it, I turn the glass on its side and stow it vertically my with cutting mats. I have noticed no difference in my Gelli over time. I have been doing this for over a year, and as far as I can tell, nothing bad has happened to the plate. It's not dried out or stiff, it seems to be just like it was when it was new. Even this sides, which are constantly exposed to air, are unchanged. I am not recommending that you disregard the manufacturer's storage directions. I am just telling you that I did and so far no ill effects.


Monday, January 13, 2014

Stencil on Images journal page, made with Silhouette Cameo

I love Stencil Girl and The Crafters' Workshop, and making my own stencils won't replace their wonderful products; however, I wanted to try making stencils from my own designs so I bought a Silhouette Cameo. For those of you who have never heard of a Silhouette Cameo, it'a small machine that cuts shapes out of paper, vinyl film, card stock, fabric, and some other things, including plastic stencil material. I tried three or four different kinds of stencil materials, none of which worked with the machine, until I found this video on YouTube by Jamie Tardif. She recommended Show Offs stencil blanks, which can be purchased only at Hobby Lobby, and that is what I am using.

I still haven't made a stencil from my own design -- I need some remedial training on Adobe Illustrator or the software that comes with the machine. I did make the beautiful stencil pictured below, though. It's a design that I purchased from Silhouette called Echo Park Doily. The stencil material is not a lovely shade of lavender, that's from the Dylusions spray that I used. Read on ...

Silhouette Echo Park Doily
I used the chipboard setting on the Silhouette to cut this out. You have to do a lot of fiddling to get the machine set so that it will cut properly. 

Gelli printed collaged deli papers with stencil applied in purple
I put my Images journal in my non-OSHA approved paint booth (cardboard box) and got out the Dylusions Crushed Grape spray ink. You can see the stencil design at the bottom left corner of the top right quadrant. I deliberately sprayed only a part of the stencil. I did not want the doily to be the focal point on the page. I wiped some of it off after I sprayed it.

The page I sprayed on was coated with either Liquitex Liquid Matte Medium or ModPodge, I can't remember. The Dylusions beaded up a bit but I rolled a roll of paper towels over it to pick up the excess.
This design is on the paper towel that I put underneath.
I usually put a paper towel or piece of paper under the object to be sprayed. I have some beautiful papers that started life as a humble drip-catcher. I think I'll try tissue paper the next time I spray.

So there's today's quickie peek into the Silhouette Cameo and stenciling. If you want to learn more, watch Jamie's video (link in first paragraph). You can always leave a comment if you have a question and I'll try to answer it.

Now go make something daring. It doesn't count unless you make a mess.


Sunday, January 12, 2014

Luna moth ghost prints

After I stamped my newly-handcarved luna moth stamp in my Images art journal, there was still plenty of ink left on the stamp. I made a ghost print on a piece of scrapbook paper ...

First ghost print -- scrapbook paper

And I made another ghost print on the back page of the journal …

Second ghost print -- journal page

I was using a brand new ink pad (Stazon Teal Blue) and I really smacked in on the stamp, otherwise I would not have got two such clear images.

Luminarte has a new color in their Silks Acrylics Glazes line called "Moss Green". It looks pretty close to a luna moth color, but it's a glaze. Still looking for an opaque option.

Find some time today to do a little something creative and nourish your spirit; you deserve it.


Friday, January 10, 2014

Embracing 2014

The internet is buzzing with talk about choosing a word for the coming year instead of making resolutions. Choosing one word seems more practical than making a list of things I will never do. Here are some photos to verify that I have actually chosen a word, and not just fantasized about it.

An act of holding close with the arms,
an enclosure or encirclement,
eager acceptance. 
Here's the whole page.

This is the facing page. It's not finished.
Some technical stuff: The page backgrounds are Gelli-printed deli paper collages. The flowers and leaves are stencils, the peacock feather was cut out of scrapbook paper on a Silhouette Cameo cutting machine, the "mind body spirit" is from a Stencil Girls Stencil Club stencil designed by Jessica Sporn. The three round swirly patterns in dark pink, to the left of the peacock feather, were made by heating a foam "marshmallow" from Michaels with a heat gun, then pressing into a carved pipe bowl to make a stamp. In person, the pages have a fair amount of shimmer from a Wink of Stella brush pen and Daler & Rowney FW Acrylic Inks. I did all the lettering by hand, except for "mind body spirit", with Posca Paint Pens and a Pentel EnerGel .35mm pen. If you are new to art journaling, don't worry about acquiring all this stuff at first. It's expensive. I did not get all these supplies overnight. I've used Michaels 40% off coupons, Jo-Ann's online sales, and special offers wherever I can find them. Just use what you have and enjoy yourself!

Thursday, January 9, 2014

A tiny envelope template

tiny envelope template
Tiny Envelope Template

This is the template I use as a guide to make tiny envelopes. I pick up a piece of paper, usually Gelli printed deli paper, and I whack it out in the general shape shown in the image. I vary the size, the proportions, and I don't try to make it neat. I know this will drive some of you nuts, but it's just how I roll.

When I have the envelope cut out, I fold it down the center line. Then I fold the flaps (top left and far left) over and glue them down. The top flap is left sticking up (yes, I know the photo is upside down)  until I decide how I am going to use the envelope. Sometimes I chop off the top flap and sometimes I make it a different shape.

I have found that a Xyron tape runner works well on the wider flaps, but for the tiny ones I like Jet Pens' Kuretake Craft Glue Pen because it puts down a very fine line of glue.

Sometimes I put several sheets of paper on a tray with a pair of scissors and cut these out while I am sitting around in the evening. It doesn't take much effort or thinking, which is my idea of a good evening activity while I binge watch The Land Girls or George Gently.

PS The background in the image is a paper towel I used to line my "paint booth" (a deep box turned on its side) when I spray inks. I save the paper towels and use them in art journal backgrounds).

Disclaimer: The links to products were put there for your convenience. I am not paid in any way to promote anything.

Wednesday, January 8, 2014

Carving a luna moth stamp

I have had this stamp material with a luna moth drawn on it since April, when I attended Pamela Underwood's "Living with Images as Companions" workshop at her beautiful Turtle Crow Studio in Austin. I finally decided to tackle carving, and learned two (probably more) things.

1 -- It's not that hard and it does not take very long. I spent a total of 45 minutes carving it.
2 -- It's going to take some practice to develop this skill.
3 -- I could get into this! Carving is relaxing and meditative. I listened to Ray Montagne on Pandora and got into my zone.

I am satisfied with the stamp, but it has lots of warts that don't show up well in the photo. Curves are tricky. Removing stamp material cleanly from the edges of the image takes concentration and practice.

Mostly finished

Finished stamp with a few pen details -- stamp pad was a bit dried out.


Now to figure out where to get a luna-moth-green stamp pad. Any ideas?

Update: Someone asked me how I will stabilize this stamp. I don't plan to stabilize it -- I place it flat on a table and ink it, then place the paper on the stamp. It's about 6" tall, and storing a block of wood or piece of foam core that large would take lots of space.


Tuesday, January 7, 2014

Tiny envelopes

I have been bitten by the expressive art journaling, Gelli mono printing, stenciling, stamping, lettering bug. I am working on four art journals, a bit at a time. YouTube is full of video tutorials made by journalers who actually finish spreads. I wander through my books, adding a bit here and there, and finishing a spread is slow going. I haven't written about this because I thought I should present finished projects, not works in progress. I have changed my mind. The photos below are unfinished pages with lots of tiny envelopes. Each envelope contains, or will contain, an insert with words on it. Since this spread is dedicated to gratitude, the words are to be phrases of thanks.

I have a general shape I use to cut out the envelopes freehand. It's one of those mindless tasks that can be done while watching tv (did I mention mindless?). Usually I cut a pile of them from Gelli printed deli paper, and glue the tabs down later. (I did a google search for "gelli printed deli paper" so that I could post a link here, but for some reason google is not showing the link in the address line in Safari, so you'll have to do your own search if you want to learn more.)

Tiny envelope spread in art journal

Close up of tiny envelopes

If you have the urge to play with art supplies in your very own journal, I say go for it. Be warned, it is addictive!