Showing posts with label Gelli. Show all posts

Sunday, January 19, 2014

Painting the Gelli plate cover

See that Gelli plate below? It is not loaded with paint. The plastic cover sheet is loaded with paint.

8x10" Gelli plate with painted cover sheet

Please tell me that I am not the only Gelli plate owner who, in her zeal to get started, put paint on the sheet covering the plate. I've done it to both sides. A multiple offender.

BTW, it's not very clear in this photo, but this is where my Gelli plate lives: on a glass sheet recycled from my (old) refrigerator. The glass is tempered, which makes it safe, not that it ever moves. The Gelli sticks right down and does not slide around when I am printing. It stays on my worktable most of the time, but if I want to move it, I turn the glass on its side and stow it vertically my with cutting mats. I have noticed no difference in my Gelli over time. I have been doing this for over a year, and as far as I can tell, nothing bad has happened to the plate. It's not dried out or stiff, it seems to be just like it was when it was new. Even this sides, which are constantly exposed to air, are unchanged. I am not recommending that you disregard the manufacturer's storage directions. I am just telling you that I did and so far no ill effects.



Monday, January 13, 2014

Stencil on Images journal page, made with Silhouette Cameo

I love Stencil Girl and The Crafters' Workshop, and making my own stencils won't replace their wonderful products; however, I wanted to try making stencils from my own designs so I bought a Silhouette Cameo. For those of you who have never heard of a Silhouette Cameo, it'a small machine that cuts shapes out of paper, vinyl film, card stock, fabric, and some other things, including plastic stencil material. I tried three or four different kinds of stencil materials, none of which worked with the machine, until I found this video on YouTube by Jamie Tardif. She recommended Show Offs stencil blanks, which can be purchased only at Hobby Lobby, and that is what I am using.

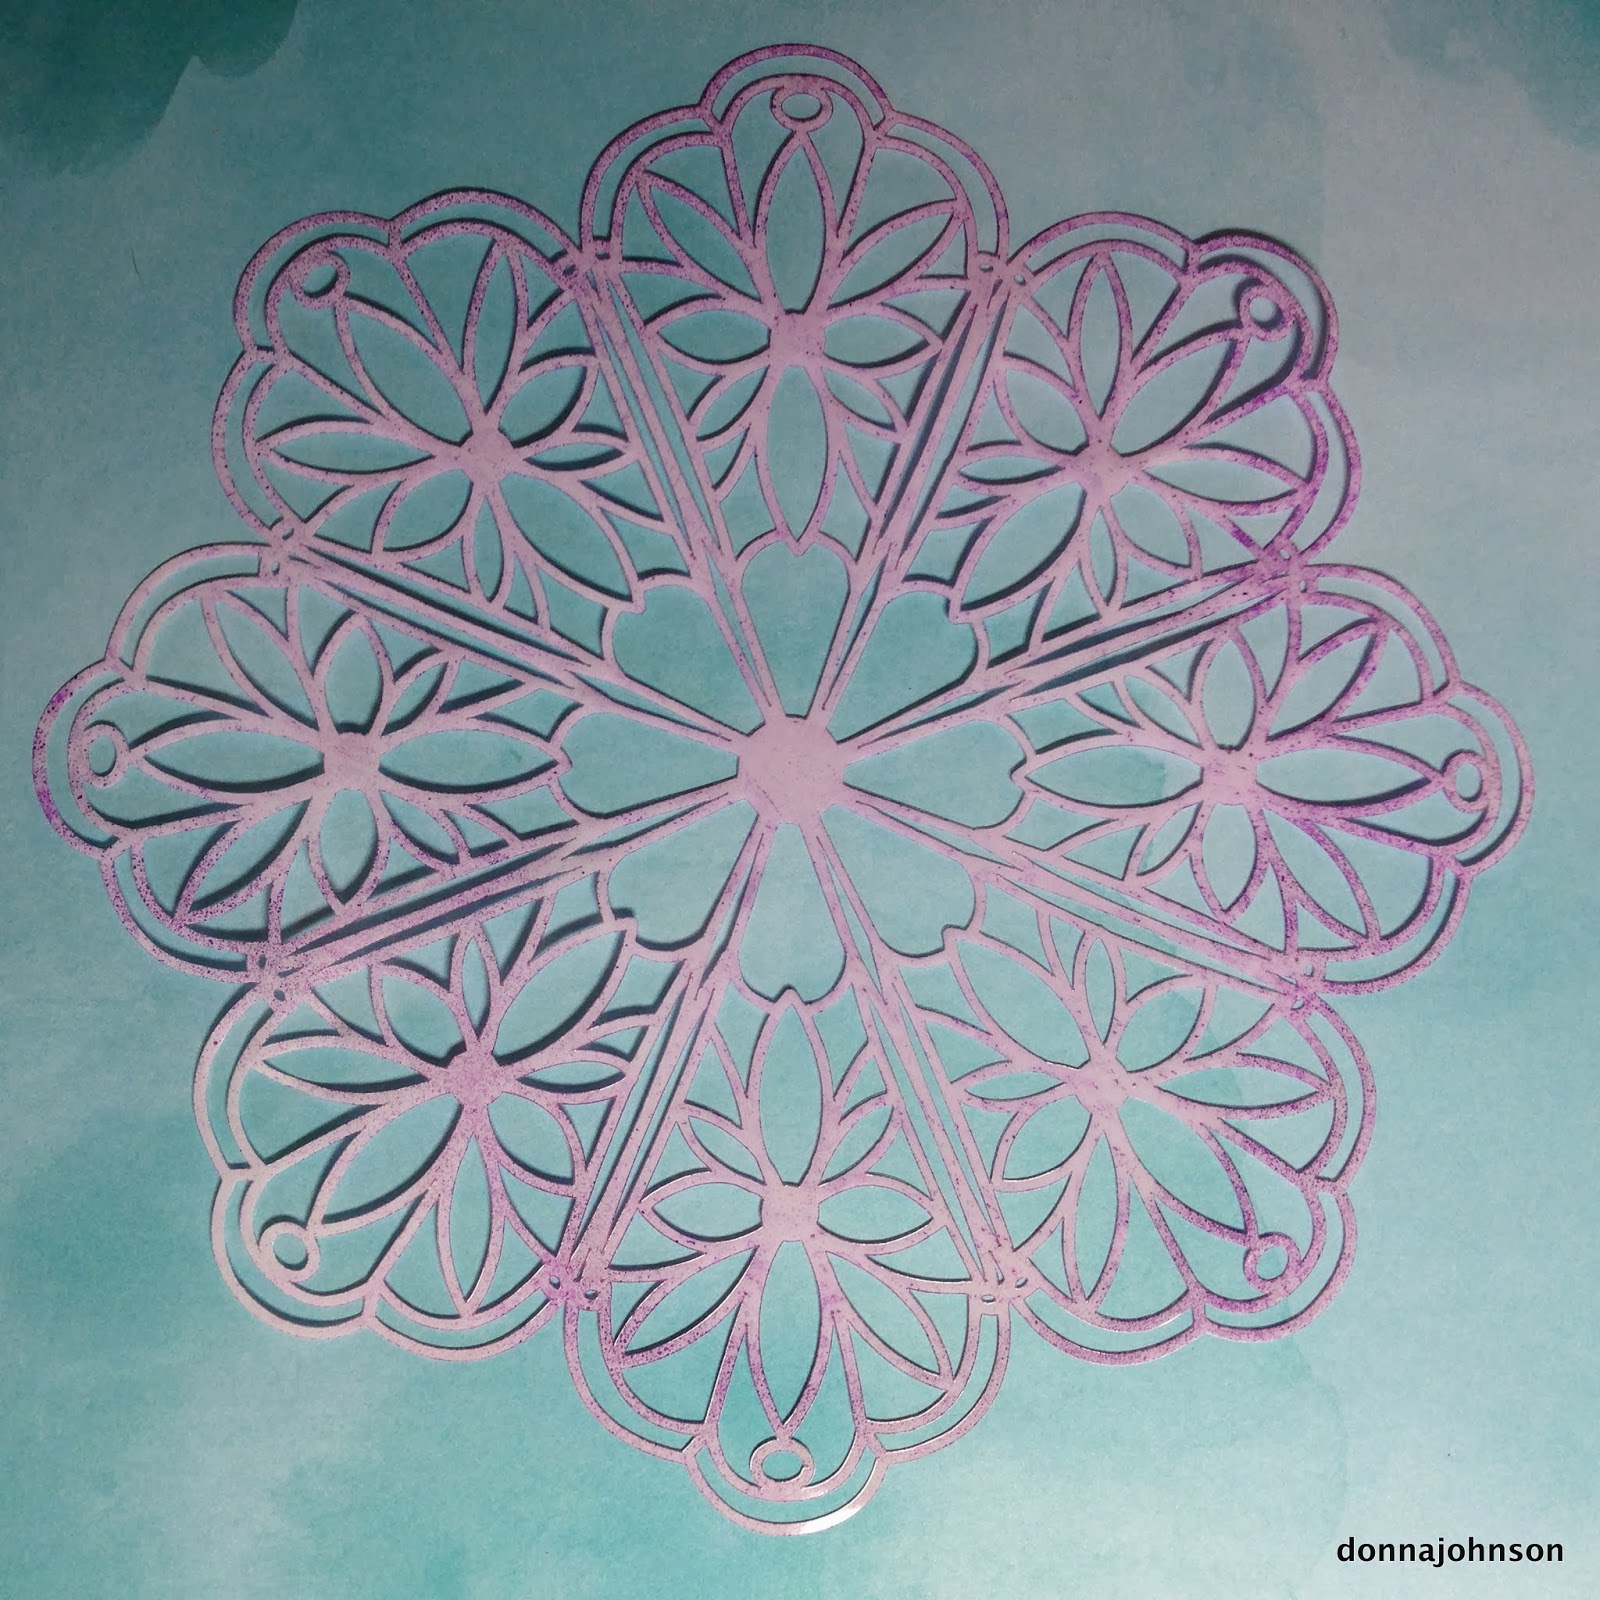
I still haven't made a stencil from my own design -- I need some remedial training on Adobe Illustrator or the software that comes with the machine. I did make the beautiful stencil pictured below, though. It's a design that I purchased from Silhouette called Echo Park Doily. The stencil material is not a lovely shade of lavender, that's from the Dylusions spray that I used. Read on ...

Silhouette Echo Park Doily
I used the chipboard setting on the Silhouette to cut this out. You have to do a lot of fiddling to get the machine set so that it will cut properly. 

Gelli printed collaged deli papers with stencil applied in purple
I put my Images journal in my non-OSHA approved paint booth (cardboard box) and got out the Dylusions Crushed Grape spray ink. You can see the stencil design at the bottom left corner of the top right quadrant. I deliberately sprayed only a part of the stencil. I did not want the doily to be the focal point on the page. I wiped some of it off after I sprayed it.

The page I sprayed on was coated with either Liquitex Liquid Matte Medium or ModPodge, I can't remember. The Dylusions beaded up a bit but I rolled a roll of paper towels over it to pick up the excess.
This design is on the paper towel that I put underneath.
I usually put a paper towel or piece of paper under the object to be sprayed. I have some beautiful papers that started life as a humble drip-catcher. I think I'll try tissue paper the next time I spray.

So there's today's quickie peek into the Silhouette Cameo and stenciling. If you want to learn more, watch Jamie's video (link in first paragraph). You can always leave a comment if you have a question and I'll try to answer it.

Now go make something daring. It doesn't count unless you make a mess.


Friday, January 10, 2014

Embracing 2014

The internet is buzzing with talk about choosing a word for the coming year instead of making resolutions. Choosing one word seems more practical than making a list of things I will never do. Here are some photos to verify that I have actually chosen a word, and not just fantasized about it.

An act of holding close with the arms,
an enclosure or encirclement,
eager acceptance. 
Here's the whole page.

This is the facing page. It's not finished.
Some technical stuff: The page backgrounds are Gelli-printed deli paper collages. The flowers and leaves are stencils, the peacock feather was cut out of scrapbook paper on a Silhouette Cameo cutting machine, the "mind body spirit" is from a Stencil Girls Stencil Club stencil designed by Jessica Sporn. The three round swirly patterns in dark pink, to the left of the peacock feather, were made by heating a foam "marshmallow" from Michaels with a heat gun, then pressing into a carved pipe bowl to make a stamp. In person, the pages have a fair amount of shimmer from a Wink of Stella brush pen and Daler & Rowney FW Acrylic Inks. I did all the lettering by hand, except for "mind body spirit", with Posca Paint Pens and a Pentel EnerGel .35mm pen. If you are new to art journaling, don't worry about acquiring all this stuff at first. It's expensive. I did not get all these supplies overnight. I've used Michaels 40% off coupons, Jo-Ann's online sales, and special offers wherever I can find them. Just use what you have and enjoy yourself!

Tuesday, January 7, 2014

Tiny envelopes

I have been bitten by the expressive art journaling, Gelli mono printing, stenciling, stamping, lettering bug. I am working on four art journals, a bit at a time. YouTube is full of video tutorials made by journalers who actually finish spreads. I wander through my books, adding a bit here and there, and finishing a spread is slow going. I haven't written about this because I thought I should present finished projects, not works in progress. I have changed my mind. The photos below are unfinished pages with lots of tiny envelopes. Each envelope contains, or will contain, an insert with words on it. Since this spread is dedicated to gratitude, the words are to be phrases of thanks.

I have a general shape I use to cut out the envelopes freehand. It's one of those mindless tasks that can be done while watching tv (did I mention mindless?). Usually I cut a pile of them from Gelli printed deli paper, and glue the tabs down later. (I did a google search for "gelli printed deli paper" so that I could post a link here, but for some reason google is not showing the link in the address line in Safari, so you'll have to do your own search if you want to learn more.)

Tiny envelope spread in art journal

Close up of tiny envelopes

If you have the urge to play with art supplies in your very own journal, I say go for it. Be warned, it is addictive!


Friday, July 19, 2013

Monoprint collage

If anyone had told me that I would all but abandon crazy quilting for mono printing and collage, I would have said, "No way!". That was before I found the Gelli plate, a nifty device that makes creating very cool prints easy peasy. Here are a few of the prints I am working with.


Here is my Gelli printing workstation. 


And this is a collaged page in my art journal. I intended to use this as a background, but I might just leave it as is. I quite like it. 


Lastly, here are a few images of other pages in my journal.


Now you go make some art!