Showing posts with label stamp. Show all posts

Wednesday, January 8, 2014

Carving a luna moth stamp

I have had this stamp material with a luna moth drawn on it since April, when I attended Pamela Underwood's "Living with Images as Companions" workshop at her beautiful Turtle Crow Studio in Austin. I finally decided to tackle carving, and learned two (probably more) things.

1 -- It's not that hard and it does not take very long. I spent a total of 45 minutes carving it.
2 -- It's going to take some practice to develop this skill.
3 -- I could get into this! Carving is relaxing and meditative. I listened to Ray Montagne on Pandora and got into my zone.

I am satisfied with the stamp, but it has lots of warts that don't show up well in the photo. Curves are tricky. Removing stamp material cleanly from the edges of the image takes concentration and practice.
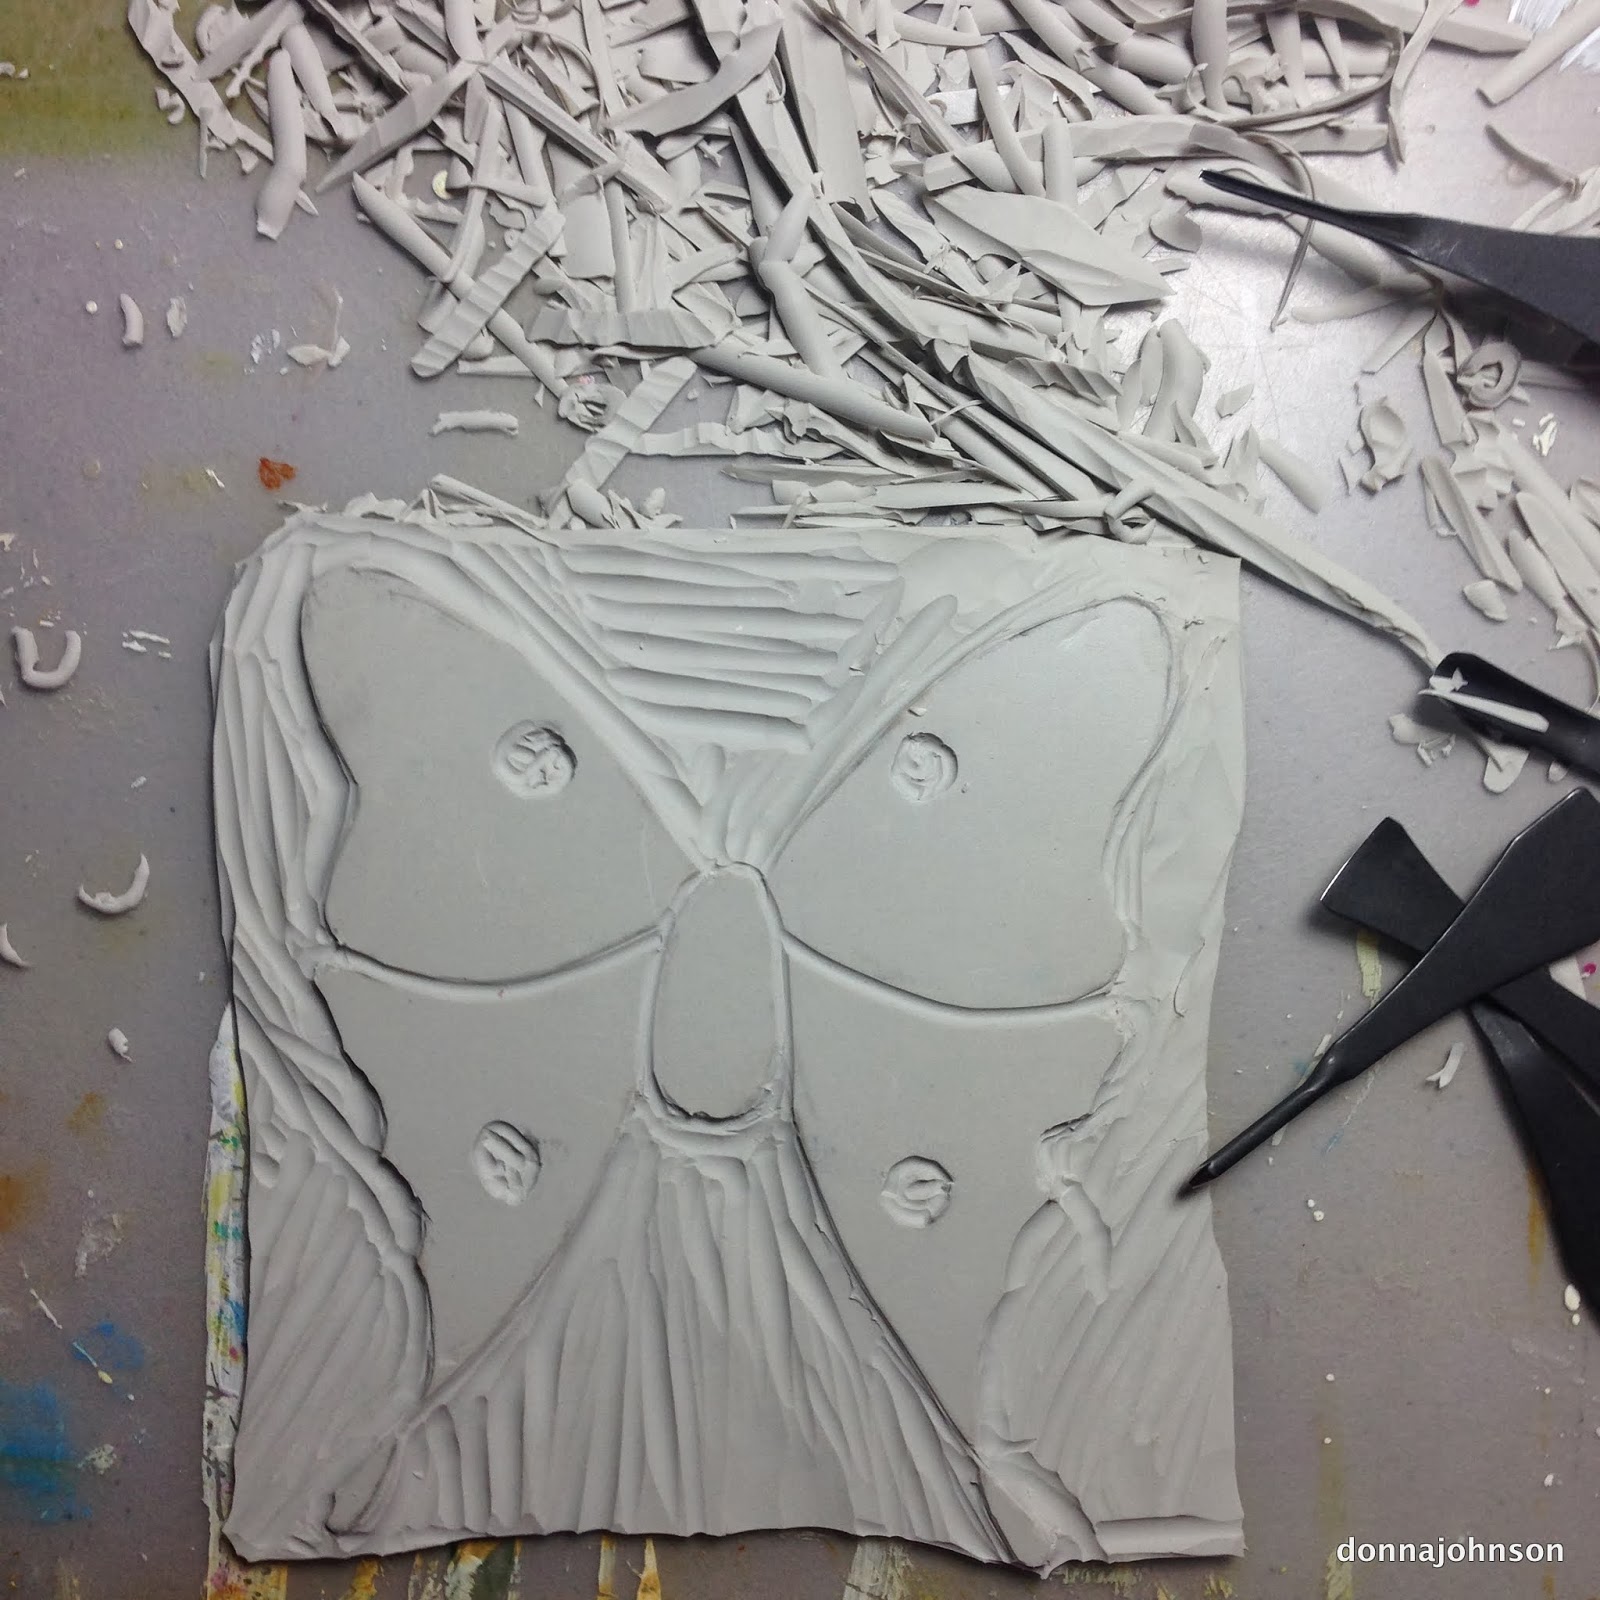
Mostly finished

Finished stamp with a few pen details -- stamp pad was a bit dried out.


Now to figure out where to get a luna-moth-green stamp pad. Any ideas?

Update: Someone asked me how I will stabilize this stamp. I don't plan to stabilize it -- I place it flat on a table and ink it, then place the paper on the stamp. It's about 6" tall, and storing a block of wood or piece of foam core that large would take lots of space.


Tuesday, December 18, 2012

Carving a Background Stamp


While shoving strolling through the 2011 International Quilt Festival shopping are, I ran across the colouricious.com exhibit and found this lovely Indian Printing Block. I was delighted to take it home with me, where it sat unused for about a year.

I had an idea that a solid background stamp would add some interest to the original design, and that I should carve this stamp. I was fortunate to attend, also in 2011, Jane LaFazio and Pamela Underwood's Lavender Sage Art Retreat in Austin, TX, where we carved stamps that we designed. Armed with these skills, I jumped right in.

Here's is what I used:
Speedball Carving Set (carving tool and stamp block blank)
tissue paper
oil pastel in light brown color
stylus for tracing
Stayz-on stamp pads in several contrasting colors
Muslin and paper

Original stamp on tissue paper, outlined with oil pastel
First, I stamped the original stamp on tissue paper. (above) I outlined the shape in oil pastel, which is soft and smeary, just what I wanted for this job. I flipped the design over on to a stamp carving blank block and used a stylus to go over the outline. The smeary oil pastel design was transferred to the block. (left) Using my basic little Speedball stamp carving tool, I began removing the portions of the block that I did not want to include in the image. (left)
Here's what it looked like when I finished carving it and slapped a purple stamp pad on it. It was not difficult to carve because I kept the shape simple, and the image stamped beautifully.

What I have learned about the original stamp is that it does not work well on paper (at least not index cards) because the detail is lost, but that it works much better on fabric, although not as well as I would like. I think this might have had do do with the surface upon which I was stamping. I used a dropcloth over a cutting board and it may have been too hard. 
Stamps on index cards, much of the detail stamp is lost.
Background and original stamps on fabric;
better but not as detailed as I would like.
In conclusion, I think I can get the image that I want by stamping on fabric on a padded surface, yet to be determined. If you give this a try, please comment and let us know what worked best for you.

Update: After all my experimentation, I discovered a video on the colouricious.com site that helped immensely: Inspired Block Printing with Jamie Malden.